


| << Back |  |
Pastimes: Around the World Style: Using Maps for Adventuresome Crafting Projects
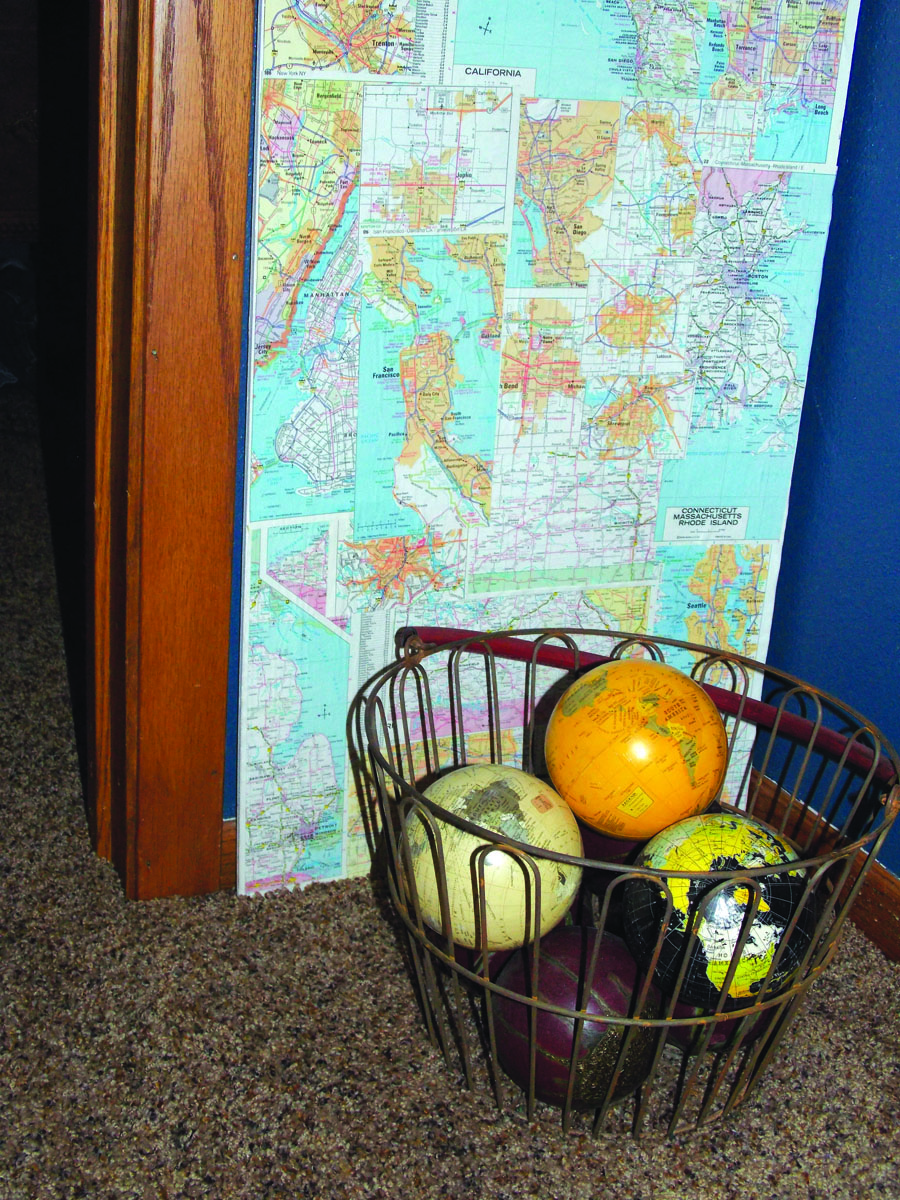
Maps and atlases drum up a sense of adventure and nostalgia for most of us. Those archaic, worn and tattered resources now tucked in a drawer or stuffed in the glove compartment of the car are a nostalgic symbol of family trips from our youth. Today, our own children haven’t a clue how to use a map, instead relying on that lovely female voice that spends most of her time “recalculating” our route and surprisingly never gets angry when we don’t follow her instructions! So, now that the paper map is almost obsolete, how about repurposing it into trendy home decorating projects and wearable art? What better way to keep nostalgia alive while going green at the same time!
By: Dee Dee Birdsall
Don’t Have a Map Stash?
No worries! Find fun vintage options online or at antique shops, and don’t discount stopping by your local Chamber of Commerce. If you decide to purchase regular US and state road maps, you’ll find them priced around $5.99 at an office supply or convenience store. Etsy and eBay are also great resources for unique maps. Finally, as an easy alternative, consider using map wrapping paper for your projects. Check out www.paper-source.com for their Cavallini World Map wrapping paper option.
Map Jewelry
This is a simple, quick and easy project. You can create a wonderful personalized map location cluster pendant which can be built over time or worn individually to capture those cherished locations that hold a special story in your heart.
How To:
- Purchase one-inch round pendant bezels, glass inserts, and E6000 glue (E6000 glue is anindustrial, high performance adhesive that is ideal for jewelry and beading applications). You can find all this at your local craft store jewelry section.
- Using a map or atlas, cut out the city of your choice – making sure to cut it larger than you need.
- Using a scrapbook one-inch round cutter, center the city within the cutter and cut circle.
- Place a dab of glue on the inside of the bezel and affix map piece.
- Place a dab of glue on the flat side of the glass and affix glass to the inside of the bezel.
- String your pendant on a ball chain and you’ve got a unique necklace.
Time Travel – Clock Face Update
Using a World map, update your clock face! Once finished, this project rivals the more expensive versions you see at Pottery Barn and Ballard Designs, but for a fraction of the cost.
How to:
- Remove the outside plastic face from the clock.
- Using the clock face, trace the size of the dial onto the map.
- Gently remove the clock hands from the dial.
- Tape off the clock frame to avoid spraying with adhesive.
- Using spray adhesive, spray the front of the existing clock dial.
- Affix cut map piece to the adhesive ready clock dial.
- Replace clock hands and outer plastic face.
Child’s Play- Geography Lesson
A child’s stool quickly becomes a unique piece when you decoupage a map to the seat and paint the stool in various accent colors. Use the stool to study the continents and boost a toddler to a higher level.
How to:
- Paint all surfaces of the stool or chair with the map accent colors.
- Cut map piece for the stool top.
- Using decoupage glue (purple labeled Mod Podge, meant for wood), apply a coat to the chair and to the map piece.
- Apply the map piece to the chair.
- Using a plastic scraper, remove the air bubbles from the map piece.
- Using a light sanding block, gently sand the edges away from the outer edge to create a smooth map edge.
- When finished, cover entire top with a coat of Mod Podge and let dry overnight.
- To finish the chair, use Minwax Wipe-On Poly and apply three coats, allowing each coat to dry before the next application.
Upgrade a Shade
Illuminate your adventurous spirit by upgrading a ho-hum lampshade to a city or region in your travel dreams. Place the lamp on your nightstand and you’re halfway there! Drum or rectangular lamp shades work best as the top and bottom measurements are the same, making for easy installation.
How to:
- Remove the shade from the base.
- Measure and cut a pattern from craft paper.
- Cut the map using the pattern.
- Using spray adhesive, apply adhesive on the lamp shade surface.
- Carefully apply the map to the shade, working out any air bubbles.
- Let dry, insert your light bulb and enjoy!
With these kick-start project ideas, let your imagination be your guide for around the world décor!


